Microsoft 365 Password: #HSP.ug?
CORRECT TEXT
Please wait while the virtual machine loads. Once loaded, you may proceed to the lab section. This may take a few minutes, and the wait time will not be deducted from your overall test time.
When the Next button is available, click it to access the lab section. In this section, you will perform a set of tasks in a live environment. While most functionality will be available to you as it would be in a live environment, some functionality (e.g., copy and paste, ability to navigate to external websites) will not be possible by design.
Scoring is based on the outcome of performing the tasks stated in the lab. In other words, it doesn’t matter how you accomplish the task, if you successfully perform it, you will earn credit for that task.
Labs are not timed separately, and this exam may more than one lab that you must complete. You can use as much time as you would like to complete each lab. But, you should manage your time appropriately to ensure that you are able to complete the lab(s) and all other sections of the exam in the time provided.
Please note that once you submit your work by clicking the Next button within a lab, you will NOT be able to return to the lab.
Username and password
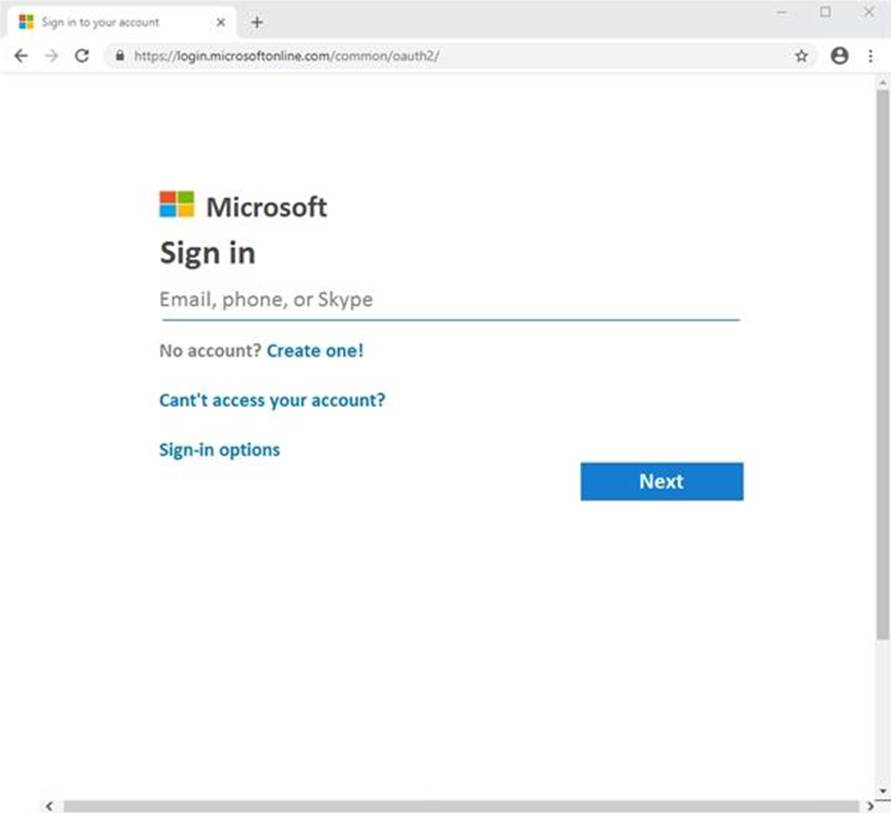
Use the following login credentials as needed:
To enter your username, place your cursor in the Sign in box and click on the username below.
To enter your password, place your cursor in the Enter password box and click on the password below.
Microsoft 365 Username:
admin@[email protected]
Microsoft 365 Password: #HSP.ug?$p6un
If the Microsoft 365 portal does not load successfully in the browser, press CTRL-K to reload the portal in a new browser tab.
The following information is for technical support only:
Lab instance: 11122308

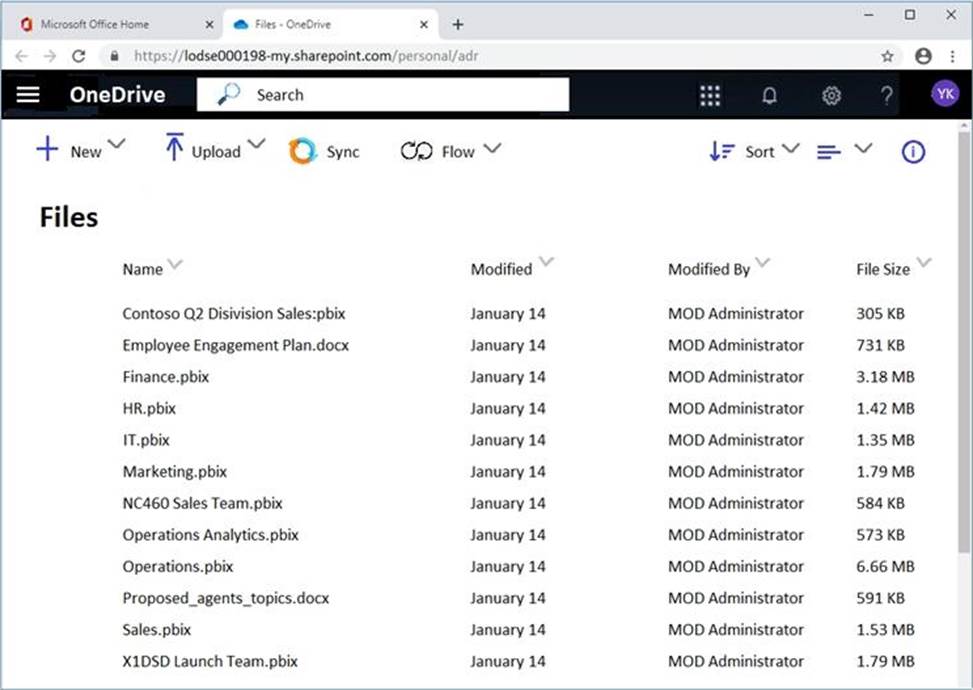
You need to ensure that a user named Allan Deyoung can perform searches and place holds on mailboxes, SharePoint Online sites, and OneDrive for Business locations. The solution must use the principle of least privilege.
To complete this task, sign in to the Microsoft 365 admin center.
Answer: ✑ After signing in to the Microsoft 365 admin center, navigate to the Security & Compliance Center.
✑ In the left pane of the security and compliance center, select Permissions, and then select the checkbox next to eDiscovery Manager.
✑ On the eDiscovery Manager flyout page, do one of the following based on the eDiscovery permissions that you want to assign.
To make a user an eDiscovery Manager: Next to eDiscovery Manager, select Edit. In the Choose eDiscovery Manager section, select the Choose eDiscovery Manager hyperlink, and then select + Add. Select the user (or users) you want to add as an eDiscovery manager, and then select Add. When you’re finished adding users, select Done. Then, on the Editing Choose eDiscovery Manager flyout page, select Save to save the changes to the eDiscovery Manager membership.
Latest MS-500 Dumps Valid Version with 193 Q&As
Latest And Valid Q&A | Instant Download | Once Fail, Full Refund

